
Main Line Hydro Jetting Guide
This guide is a walkthrough for the homeowner whose whole house seems to drain badly at once. It works through the symptoms, the diagnosis, the access points, and the aftercare of the main line — the one pipe every fixture shares. Call (833) 878-1592 to book a camera look and a clean.
Updated 2026-11-18. Prices shown are estimates only.
First, check: is it really the main line?
Before booking a main-line clean, check the pattern. If only the kitchen sink is slow, the problem is the kitchen branch. If only one bathroom is slow, the problem is that bathroom's branch. The main line is the suspect only when several fixtures, in different rooms, slow together — the kitchen sink, the bathroom sink and the tub, all at once.
The lowest fixture is the best witness. If a ground-floor shower or a basement floor drain fills when the washing machine runs, the shared pipe downstream is partly blocked. If a toilet bubbles when another fixture drains, air is trapped by a blockage in the shared run. Those two tests, done at home in a minute, separate a main-line problem from a branch problem.
The symptom checklist, room by room
Walk the house and note each fixture. Kitchen: sink slow, dishwasher leaving water, disposal backing up. Bathroom: tub slow, sink slow, toilet needing a second flush, toilet bubbling when the machine runs. Laundry: washing machine drain overflowing or slow. Basement or ground floor: floor drain filling, shower tray rising, a drain smell that returns.
Count how many rooms are affected. One room means a branch. Two or more rooms, especially on different floors, means the main. Write the list down before you call: the crew will ask for it, and a clear list gets a faster, more accurate booking than a vague report that the drains are slow.
How the camera diagnoses a main line
The diagnosis is a video scope look from a cleanout. The camera travels the trunk from the house toward the street, and the operator watches for coating on the walls, standing water in a sag, root strands at a joint, scale in an old metal section, and any crack or break. The operator also notes the distance along the run, so the worst stretch can be found again.
That picture is the diagnosis. It says whether the line is coated, partly blocked, or broken, and where. Without it, a main-line clean is a guess: the crew may jet the wrong stretch, or jet a broken pipe. With it, the clean targets the right place, at the right pressure, with the right nozzle.
Access: the yard cleanout and its alternatives
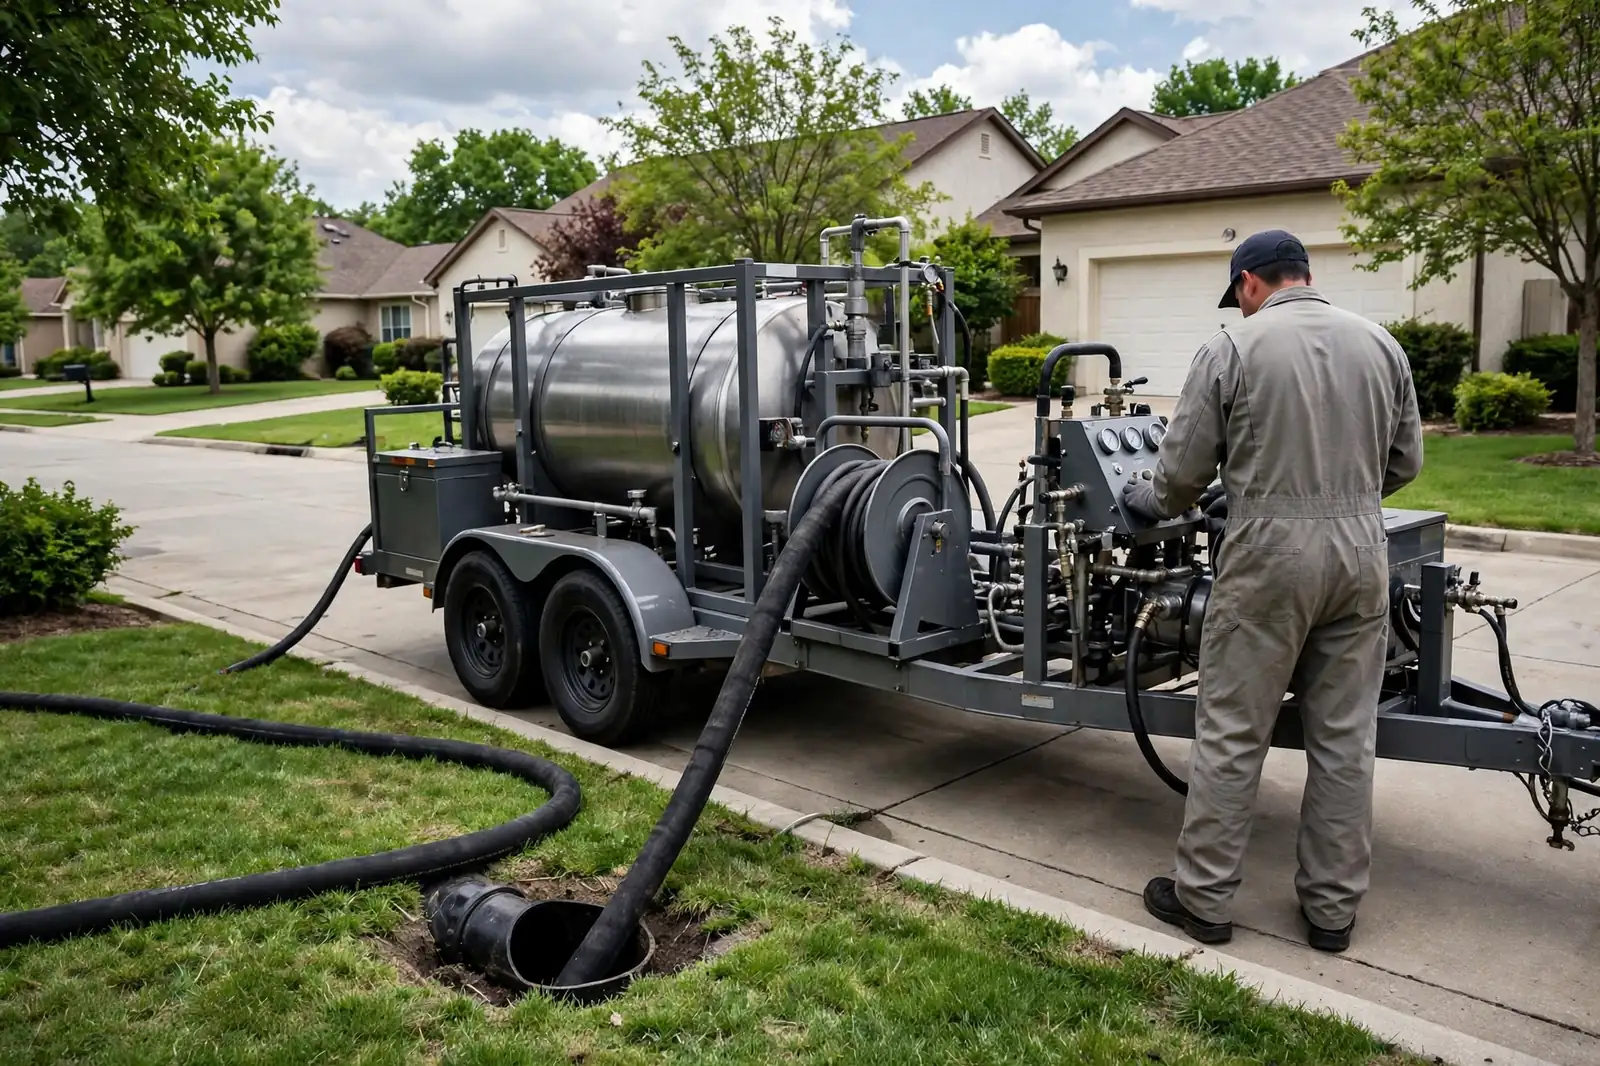
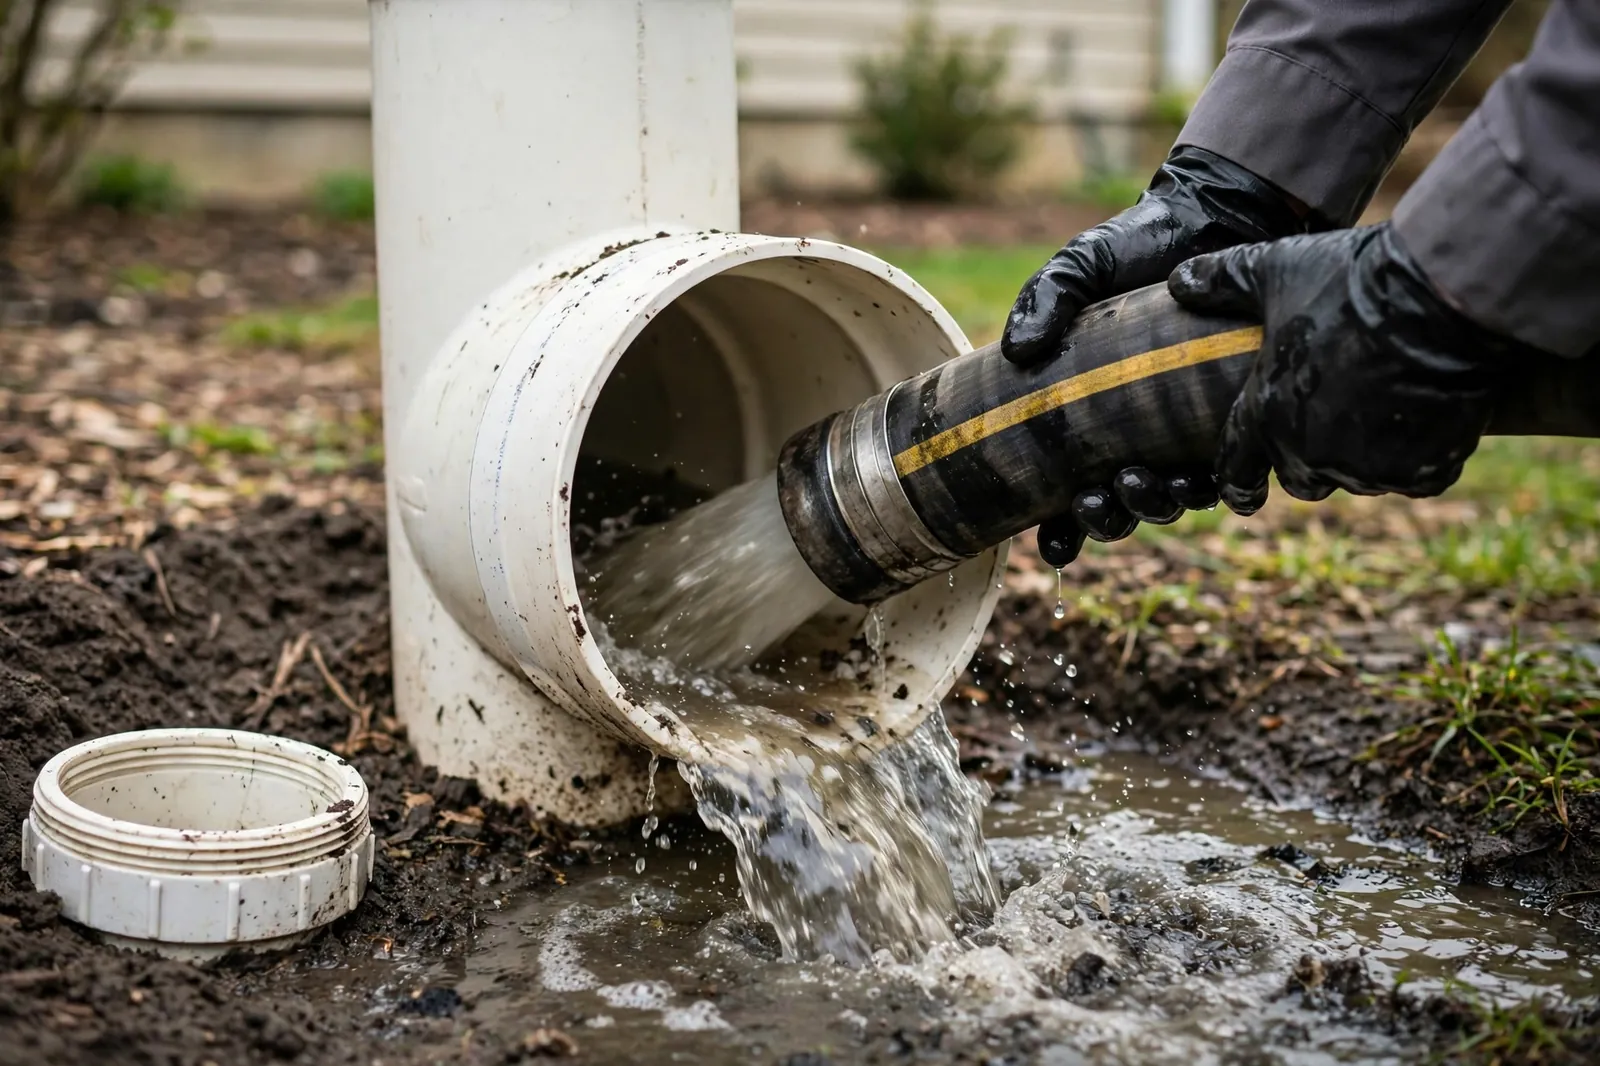
Getting into a main line is half the job, and the easiest way in is the cap in the yard. That capped pipe, usually a few feet from the house wall, opens straight onto the trunk, so the hose can travel in either direction and any water that comes back out has somewhere to go outside. A cap in a basement or utility room is the next choice, and it needs floor covering and a clear run for the hose.
Some houses have no cap at all. In that case the crew may lift a toilet to reach the trunk, which takes longer and adds a refit to the visit. If your house is one of those, it is worth asking whether a cap is worth fitting: a single fitting job makes every later clean a matter of minutes at the yard, instead of an hour spent reaching the pipe.
The clean itself: length, passes and pressure
A main-line clean is a longer job than a branch clean, because the hose must travel the whole trunk — often tens of feet — and the operator must work every foot of it. The hose usually goes in from the downstream end, so the flow pushes debris toward the street sewer, and the operator pulls it back slowly, letting the jets scour each stretch, and repeats the worst sections.
Pressure is set to the pipe, not to a fixed number. Sound plastic takes a different setting from old cast iron, and clay needs care around its joints. The operator watches the flow coming back and the feel of the hose, and eases off if the hose stops advancing or the gauge climbs. A closing scope look confirms the walls are clean.
What the price depends on for a main line
A main-line wash usually falls between $350 and $900 as a typical range. The run's length sets the figure first: a compact house with a short trunk to the street pays less than a large house with a long run across a wide plot, even when the blockage is the same. How the crew gets in sets it second — a yard cap that opens in seconds is cheap, while a buried cap that must be dug out, or a lifted toilet, adds time and cost.
What is inside the pipe sets it third. Soft fat washes away quickly, while mineral crust and root strands need slow passes and a cutting head. And the pipe's condition can change the job altogether: a scope picture showing a split or a fallen section turns a cleaning into a repair conversation, and the quote given after the picture should list the lens work, the wash and the tidy-up as separate lines.
Aftercare: what to watch in the first weeks
In the fortnight after a main-line wash, the test is simple: every tap, tub and toilet should run at its usual pace, and a flush should not make a low drain bubble. If one fitting still lags while the rest are fine, that fitting has its own branch trouble, and it needs a separate visit. Keep an eye on the lowest drain in particular, since it is the first place a fresh blockage makes itself known.
If the whole house slows again within weeks, the wash may have left one stretch coated, or the pipe may have a dip or a split that washing cannot cure. Ring back promptly and mention the date of the visit and the closing pictures. A fast return is useful information, not a failed job, and it points the crew at the next step instead of another round of guessing.
Habits that keep a main line clear
A washed main stays clear longest when the house stops feeding it the things that coat it. Fat belongs in a jar, not the sink. Hair and food belong behind a mesh screen. Wipes belong in the bin, even when the packet says they can be flushed, because they catch on rough pipe and start a fresh plug. A dripping tap or a running toilet is worth fixing, too, since surplus water pushes waste into any low spot in the trunk.
Where a tree stands over the line, a lens look every year or two catches fine root strands while they are thin and cheap to cut. And keep the paperwork: the closing pictures, the date, and the quote, filed together. A crew that begins with that file does not need to learn your line from scratch, and the next visit is shorter and cheaper because of it.
When a main line needs repair, not cleaning
Jetting clears buildup, but it cannot fix shape. A pipe that sags in the middle holds standing water, and waste will settle there again within months. A pipe with a wide-open joint will let roots back in. A cracked clay section will keep leaking and shifting. In each case the scope footage tells the story, and the honest next step is a repair plan for that section, not another clean.
That does not make the clean wasted: clearing the line first is what lets a repair crew see the pipe properly and work in a clean line. It also buys time. A cleared main line with a known weak section can often be managed with regular surveys until a repair is scheduled, rather than failing without warning on a busy weekend.
How long does a main line clean take?
A main line clean takes longer than a branch clean, because the run is longer and the work is heavier. A typical home main line — from the house to the street — runs 50 to 100 feet, and the job usually takes 2 to 4 hours including the camera look before and after. A short run with light grease can be done in under two hours. A long run with a thick root mat can take half a day, because the cutting head has to work slowly through the mat and the operator needs a second camera run to confirm the bore is open along the whole length.
The time is not wasted. The camera runs at the start and the end are what make the job honest: the first shows what is in the pipe, the second proves it is gone. The passes in between are where the cleaning happens, and a long line needs more of them than a short one. A crew that quotes a time should explain what it covers, and a crew that finishes a long main line in forty minutes has almost certainly skipped the closing camera run. Ask how long the job will take and what the time includes before the crew starts, and judge the visit by the footage at the end rather than by the clock.
Main line vs branch line: where the work differs
A branch line serves one fixture or one room. A main line serves the whole house. That difference changes the job in four ways. First, the length: a branch may run ten feet, while a main line can run a hundred. Second, the diameter: a main line is wider, so the nozzle has more wall to wash. Third, the entry point: a branch is reached from inside the house, while a main line is usually reached from the yard cleanout, which may need to be found or dug out. Fourth, the stakes: a branch problem slows one sink, while a main line problem can back sewage up into the lowest fixture in the house.
The tools are the same, but the plan is different. A branch clean uses a shorter hose and a smaller nozzle, and it is often done from a sink or a bath drain. A main line clean uses the full hose, a larger nozzle, and often a cutting head for roots, and it starts with a camera run along the whole length to map the joints and the trouble spots. The price reflects the difference: a branch line usually runs $250 to $550, while a main line usually runs $350 to $900. If a quote does not say which line it covers, ask — a branch price for a main line job means the job will not be finished, and a main line price for a branch job means you are paying for work you do not need.
Tree roots in the main line: cut, clean, then what?
Tree roots are the most common cause of a main line problem, and they follow a pattern. A fine root finds a crack or a joint in the pipe and grows toward the water inside. Over a season or two it thickens into a mat that catches paper and waste, and the line slows. The jetter clears the mat with a cutting head, and the camera shows the bore open again — but the crack or the joint is still there, and the roots will grow back through it. Cleaning buys time; it does not fix the cause.
The honest conversation after a root clean is about what happens next. The crew should show you the footage of the joints where the roots entered, and talk through the options: a repair of the damaged section, a lining that seals the inside of the pipe, or a replacement of the run. Each option costs more than a clean, but each one stops the roots at the source. The alternative is to keep cleaning on a schedule — every year or two, as the roots grow back — and that can be the right choice for a home where a repair is not yet practical. What matters is that the choice is made with the footage in front of you, not guessed at. The root clearing page explains the options after the clean, and the sewer camera inspection guide explains what the footage should show.
When the main line keeps blocking: the deeper causes
A main line that blocks again within weeks of a clean has a cause that cleaning cannot fix, and the camera will usually show what it is. A bellied pipe — a section that has sunk and now holds standing water — collects waste no matter how clean the walls are. An offset joint, where two sections have shifted apart, catches paper at the lip. A collapsed section, often caused by age, ground movement, or a heavy vehicle driving over a shallow line, closes the bore entirely. A line with the wrong fall, too flat to carry waste away, will always be slow. None of these is a cleaning problem, and no amount of jetting will fix them.
The camera is what separates a cleaning problem from a repair problem, and it is why the closing footage matters so much. If the footage after the clean shows a sound pipe with clean walls, the next blockage is a matter of time and habits. If it shows a belly, an offset, or a collapse, the crew should stop cleaning and talk about repair: replacing the damaged section, re-laying the run, or lining the pipe. The repair costs more than a clean, but it is the only fix that lasts. A crew that keeps selling cleans for a collapsed pipe is selling the wrong job, and the footage is the evidence that proves it. Keep the footage, and use it to get a second opinion if the advice does not match what you can see on the screen.
Who owns which part of the line?
A question that surprises many homeowners is who owns the sewer line, and the answer changes who pays for the work. In most areas, the homeowner owns the line from the house to the property boundary, or to the point where it joins the public sewer — the exact point varies by town and by utility. The public sewer beyond that point belongs to the water company or the municipality, and a blockage there is their job to clear. The boundary is usually marked on the property plan or in the utility's records, and the crew can often tell from the camera footage where the private line ends.
This matters when the blockage is near the street. If the camera shows the problem is past your boundary, call the utility before you pay for a private clean — they may clear it for free, and a private crew should not be charging to clean a public pipe. If the problem is on your side, the cost is yours, and the typical $350 to $900 range for a main line clean applies. If you are unsure where the boundary sits, ask the crew to note the distance from the cleanout on the footage, and check it against your property plan. A clear answer on ownership can save you the price of a job that was never yours to pay for.
Signs you may need hydro jetting
- Taps, tubs and toilets in different rooms all run slowly together.
- A ground-floor shower tray rises while the washing machine runs.
- A toilet flushes weakly or bubbles when another fitting drains.
- Water returns through a low tub or shower after a flush.
- Gurgling sounds follow a flush or a wash cycle in several rooms.
- A stale drain smell hangs around the lowest bathroom.
- Every drain in the house slow at the same time.
- A sewage smell in the yard near the line.
- A cleanout that overflows when water runs.
- A toilet that gurgles when the washer drains.
- A backup in the lowest fixture first.
- A line that blocks again within weeks of a clean.
How it works
- 1
First — Test the pattern
Walk the house and list the slow fittings room by room, noting whether several rooms are affected at once, since that points to the shared trunk.
- 2
Next — Scope the trunk
A video lens travels the main line from the cap and shows the coating, the worst stretch and any damage before water is used.
- 3
Last — Wash, confirm, watch
The hose washes the full length in slow passes, a closing lens look confirms clean walls, and the lowest drain is watched for a week or two.
- 4
Step 4 — Confirm the clean reached the street
Ask the operator to show you the closing footage at the far end of the run, so you know the clean reached the street and not just the first few feet.
- 5
Step 5 — Plan the next camera check
Put the next camera date on the calendar before the crew leaves — twelve months out for most homes, sooner if the footage showed roots.
What does it cost?
What a whole-home trunk wash usually runs to, by run length, entry point and buildup. Typical ranges, shown as estimates.
| Service | Typical range (estimate) | Notes |
|---|---|---|
| Main line jetting | $350 – $900 | Whole-home trunk line |
| Video scope look with jetting | $150 – $350 | Often bundled in |
| Branch line jetting | $250 – $550 | One fixture line |
Prices are estimates only. The local company that does the work sets its own final pricing.